
Do you want to improve your photos by quite a bit, without getting a degree in art or photography? Make them stand out, and really shine? Improve the contrast and crop it properly! It’s simple to do, and I’ll show you how.
(My instructions are for the free art program GIMP, but the process is the same for any photo editing program.)
It’s pretty simple. First, open your photo in GIMP or your favorite photo editing software. For folks who are new to this, that usually means right clicking on the picture file and selecting “open with” then picking what you want to open in.
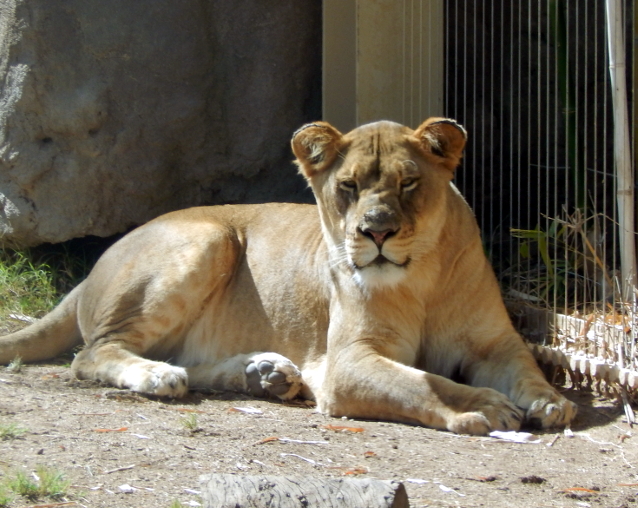
So, now you have your photo open. Maybe it looks like this.
Not a bad picture, really, but maybe you want to see the lioness better. So draw a box around the area you want to keep with your selection tool (usually looks like a rectangle in the toolbar) and then use “Crop to Selection.” In GIMP, that can be found under “Image,” up in the menu. You’ll get something like this:

Better, but it could look even better than that! So try this: in GIMP, in the menu at the top, go to “Colors” then “auto” then “white balance.” You’ll get something like this:
If you don’t like how that turned out, you can go to “Colors” then “Brightness and Contrast” and move the sliders around till you get something you like, like this:

Sometimes you can preserve the colors better by using the “Brightness and Contrast” tool rather than the automatic white balance, it depends on the photo. If you are not using GIMP, but instead another program, there will be similar options but they may be called something different.
In any case, there’s a lot you can do to improve an image with very little effort!

You must be logged in to post a comment.